How to Make a Paper 3d House Easy Step by Step
Some paper creations make your day better while some others help to lift you broken mood. Here is one that does both. Just give it a try!
Making a Paper House
This is a paper craft which is close to my heart. I learned it when I was just 12 years old from my father who is currently a retired art teacher. It is very easy to make and it amazes anyone who sees it.
An important thing about this craft is that the materials required for making it is easily available in your cupboard. There is no need to purchase any specific products from the market to make it. Kids can have lot of fun making paper houses. It will help them to develop their skills and imagination.
This craft is suitable to design miniature houses for school projects and exhibition. I used it once in an exhibition for disaster management and it got a lot of appreciation.
Paper houses can be also used as a decoration. You can keep it in your showcase and see how your friends like it. Some of my friends call it the "house inside a house."
It can also be used as a gift. You can present it along with the birthday greeting card or with other gifts, adding an impression to your birthday present.
Materials Needed
- A thick sheet of paper: I used the paper of an ordinary packaging box (see video). You can also use art paper, but keep it in mind that you need to fold the art paper in order to make the house. So if it is too thick, you will find it difficult to make simple folds while if it is too thin then you will face difficulty to keep the house in position from standing straight.
- A pair of scissors.
- Glue. I recommend using a quick drying glue for this craft.
- Red pen, coloured markers, pencil, ruler.
- A shiny plastic wrapper—I used the plastic packet of a biscuit whose inner side was shiny.
Step-by-Step Instructions on How to Make a Paper House
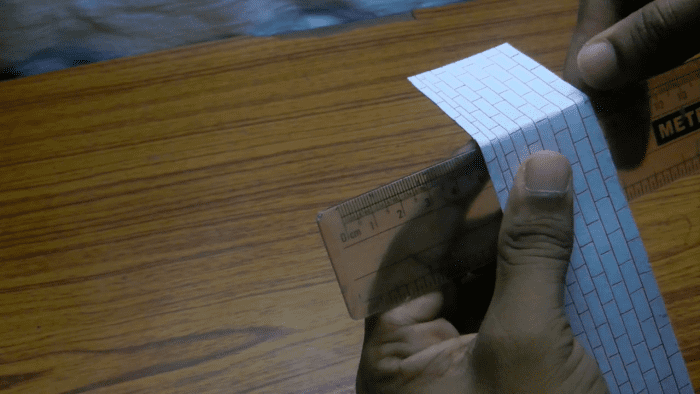
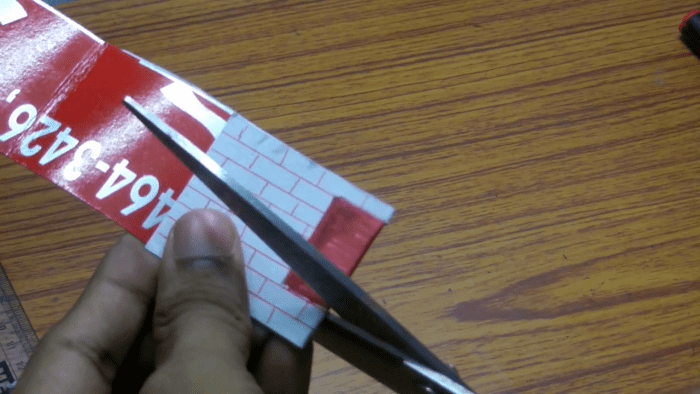
Step 1: Cut the thick paper in the size of 4 cm by 27 cm(1.57 by 10.63 inches) in order to get a rectangular sheet.

Cut the paper using a scissor.
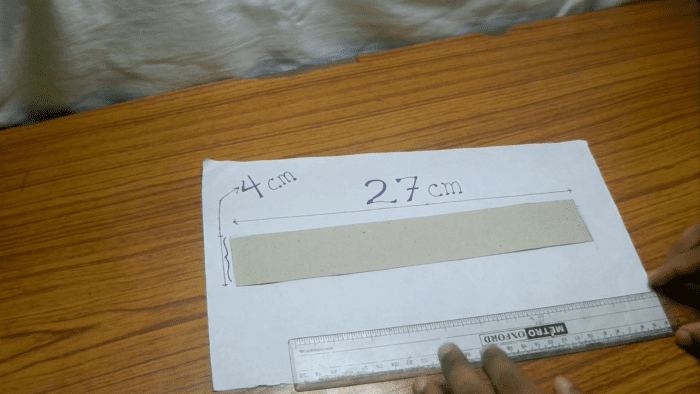
Measurements of the paper should be 4cm by 27 cm
Step 2: You can either colour the paper or paste another white paper over it using glue. This will help you to make designs over the thick paper.
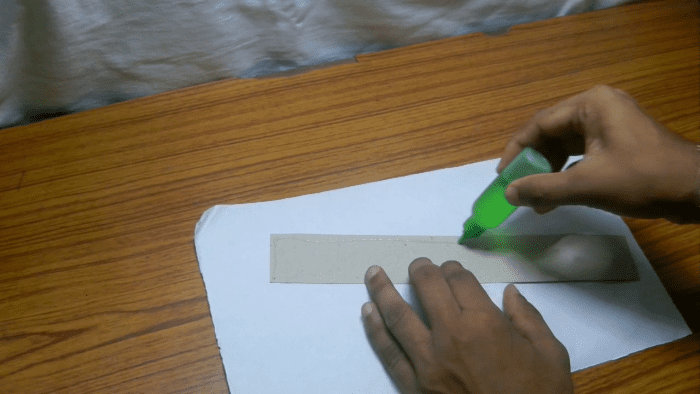
Paste a thin white paper over the thick paper to make it suitable for designing the house.
Now use a red pen to draw bricks of the paper house. For this, start by drawing parallel red lines with small gaps between them.
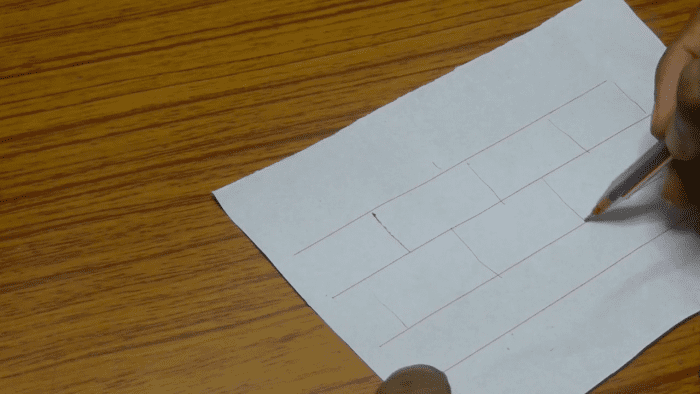
The arrangement of bricks is little bit different. They are not arranged in simply one over another. Instead they are arranged in an alternative fashion where each bricks body portion lies above the gapping between the two bricks below it.
Scroll to Continue
Read More From Feltmagnet
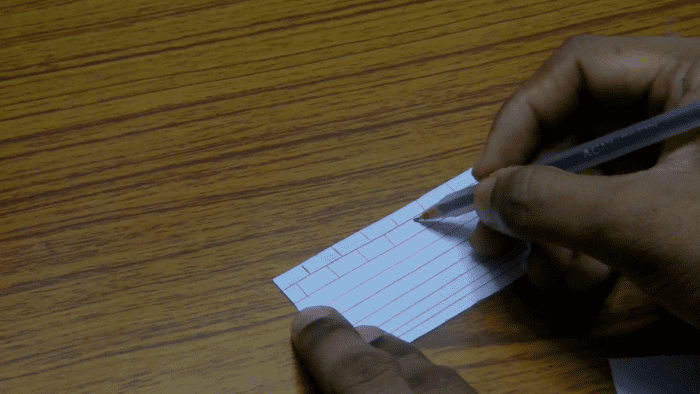
Draw the pattern of the bricks as shown using red pen. Keep in mind that each brick has a same length. So draw the bricks maintaining the same length.
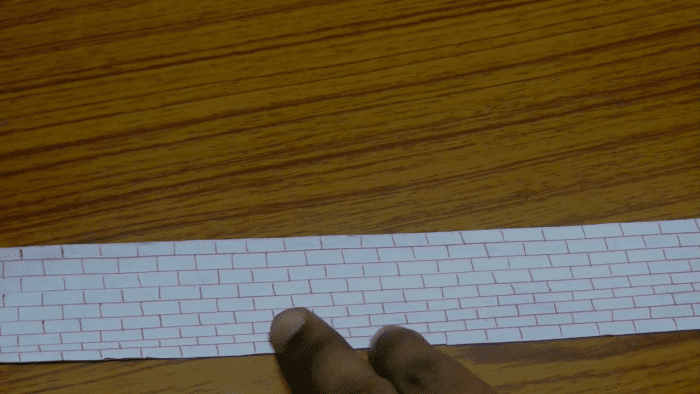
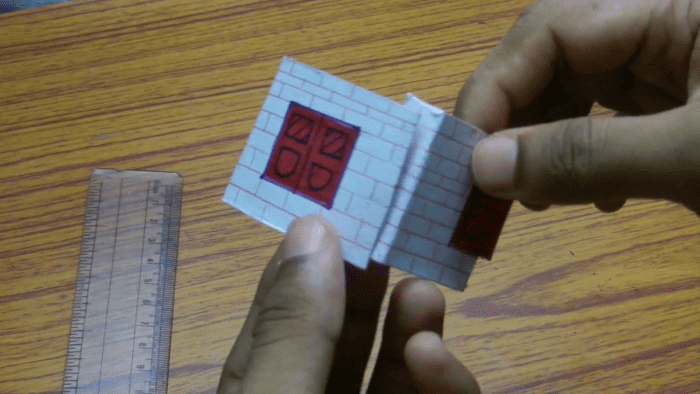
When you are done with drawing the bricks, the final design will look like this picture.
Step 3: Next, design the walls of the house by folding the paper.
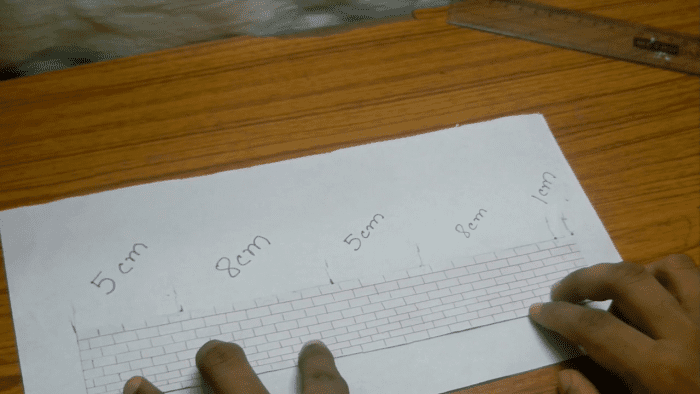
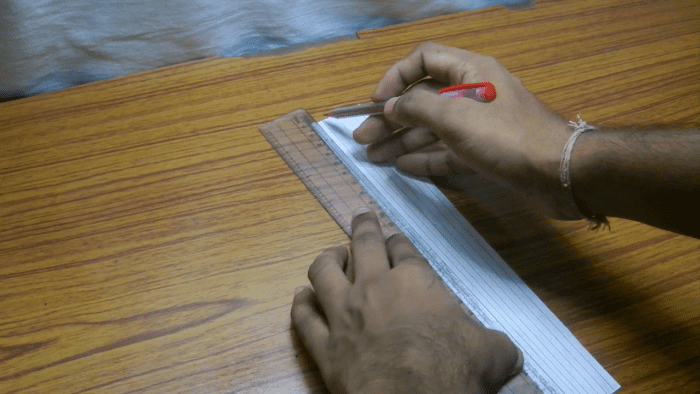
In order to make the walls for the house you need to bend the paper at certain measurements. Mark the paper with pencil from one of its side at 5cm & 8 cm points alternatively and keep a gap of 1cm at the end (as shown in the picture).
Fold the paper at the points of marking using a scale in order to make the foldings straight.
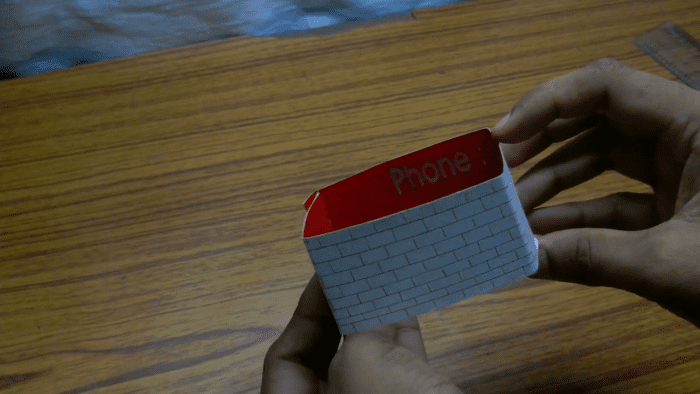
Once done you can fold the whole paper into a four sided box. This box will be the wall of your paper house.
Step 4: Design windows and doors of your house.
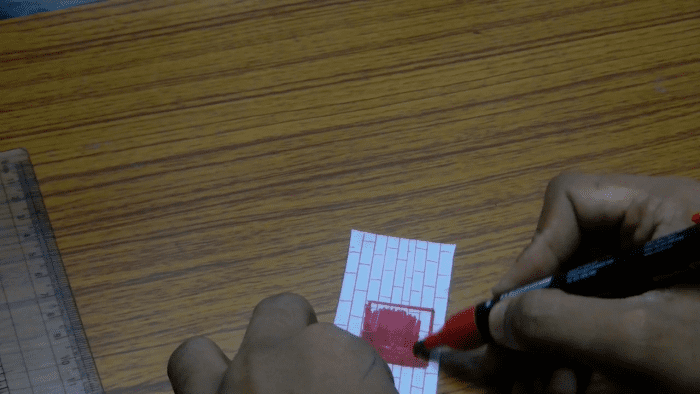
Draw a rectangular door using a pencil and colour it with marker.
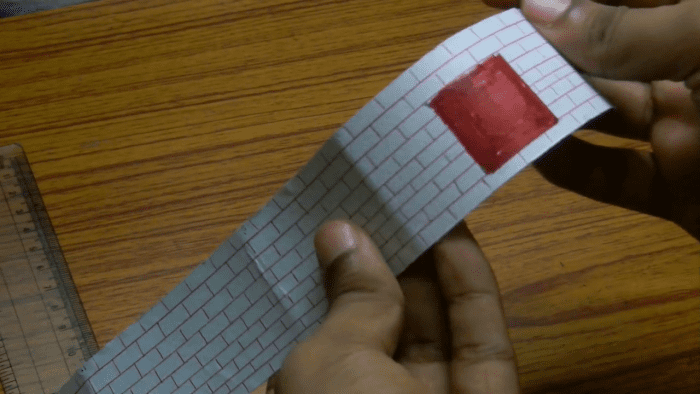
I have used red marker to colour the door.
Bonus Tip!
You can make windows and doors that open for your paper house. For this, you need to cut the door using the scissor.

To make the doors open what you need to do is fold the paper as shown above so that the fold divides the door into two halves.
Then use the scissor to cut the upper and lower portion of the door.
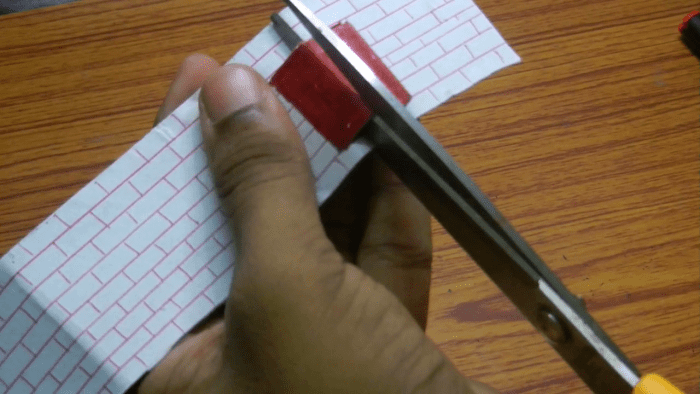
Finally insert the scissor through the lower cut portion of the door which you just made and cut it into two halves. Note: cut the door but don't cut the walls.
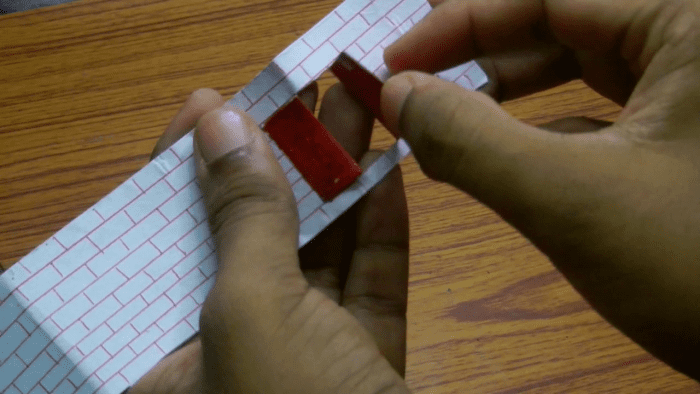
The paper door flaps can now be opened and closed just like original ones.
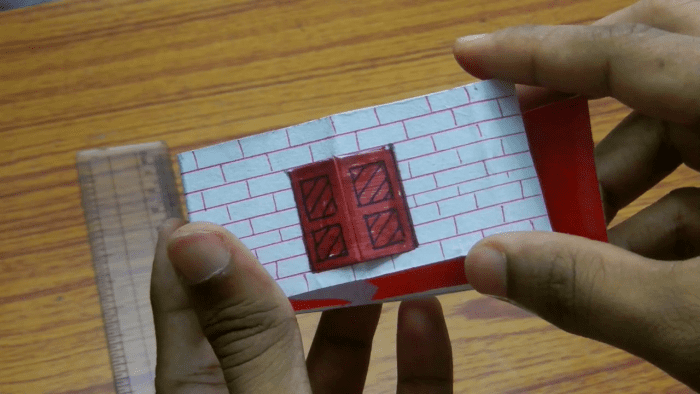
(optional) Design the door flaps with patterns.
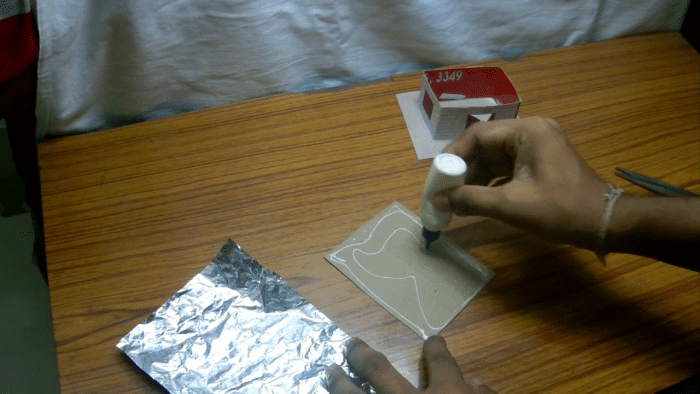
Step 5: Paste the paper with glue. Arrange a base for the house.
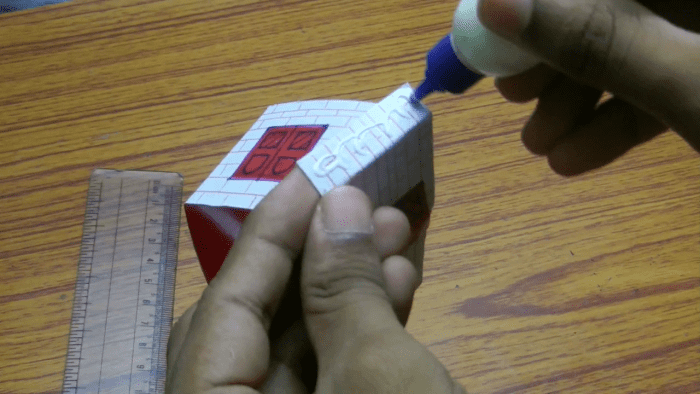
Apply glue on the end in which 1 cm gap was left.
Paste the parts in order to make a complete four sided box.
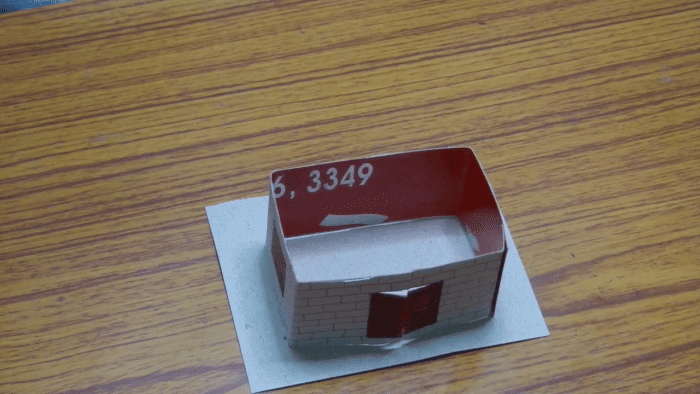
Now arrange a base for your house. It should be little bit bigger than the base of the house. You can use the same thick paper which you used to make the wall of the house.
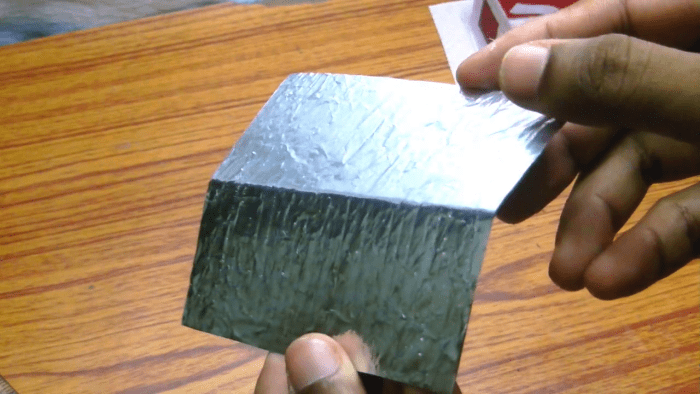
Step 6: Make a tin roof for your paper house using a shiny plastic wrapper.
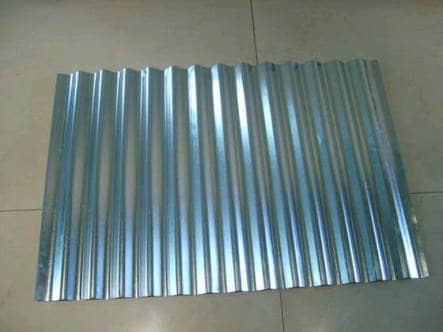
An original tin roof looks shiny and has wavy patterns on it.
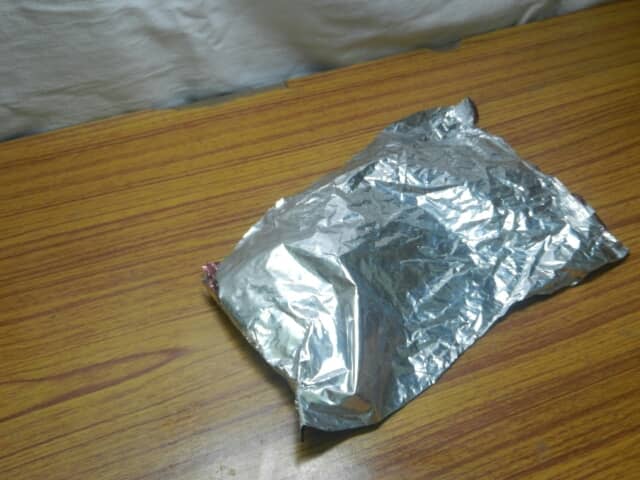
To make similar roof for your house you have to use a plastic wrapper which has a shiny side. I used a plastic wrapper of a biscuit.
Start by cutting paper to make the roof. You need to keep in mind that the roof of the house should be bigger than its base. Then paste the plastic wrapper on the roof. The shiny surface should be on top.
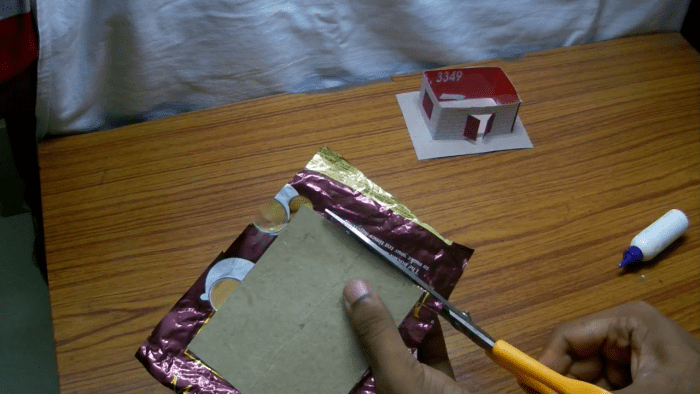
Cut off the extra plastic from the paper roof.
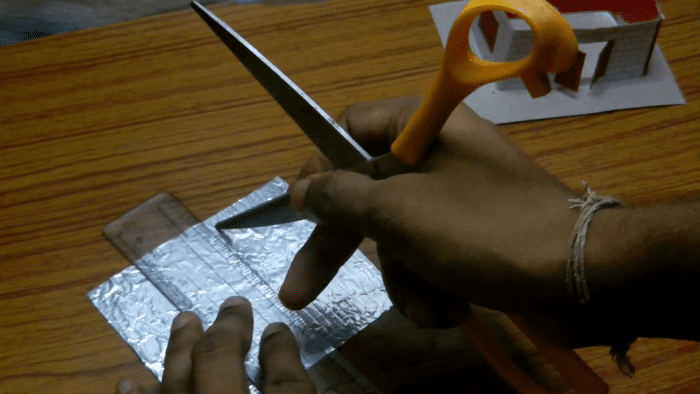
Now to make the wavy designs like that of a tin roof you need to make parallel markings on the shiny surface of the roof. For this you can use a key or the blunt edge of the scissor. Take care not to damage the roof while marking.
When you finish making marks the roof looks wavy just like original ones.
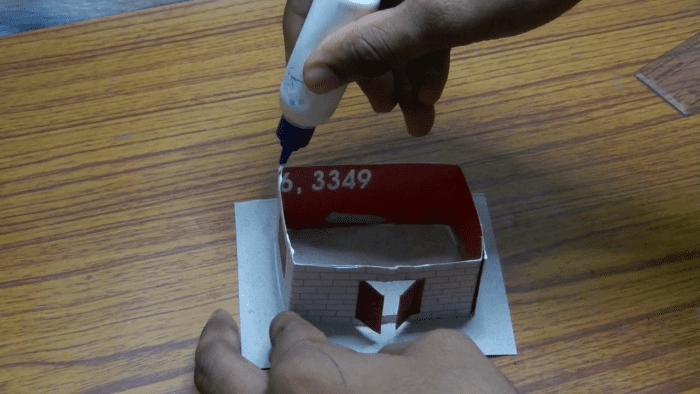
Apply glue on the upper portion of the wall. I would suggest that you use a quick fixing glue for this craft.
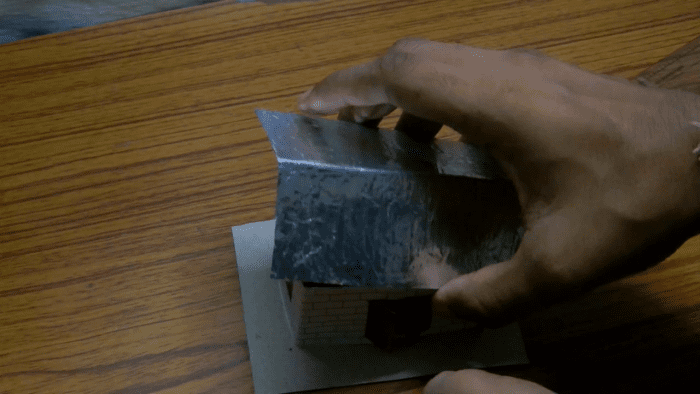
Paste the roof carefully over the house and let it fix .
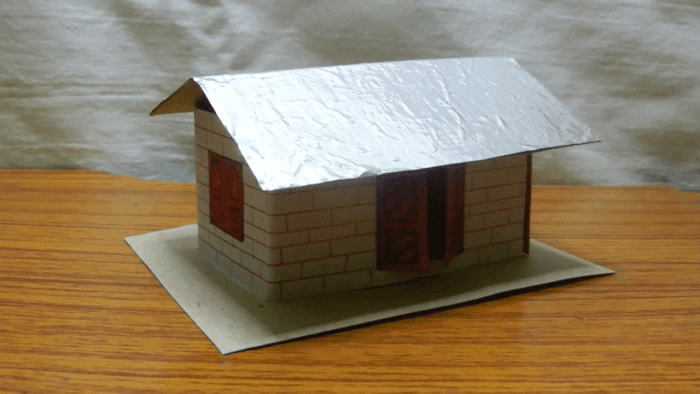
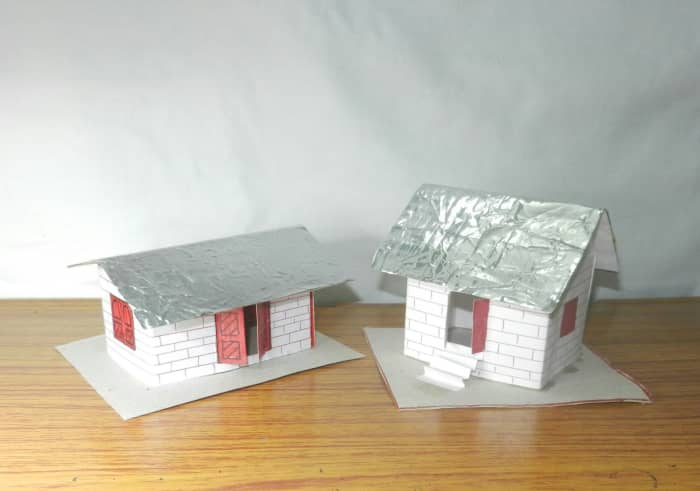
This is how cool your paper house will look like when it is done.
Some Facts About Houses:
1. Architects, interior designers, and exhibit designers use miniature building models as an efficient design tool for understanding the three-dimensional structure space or form.
2. The use of fired bricks for making houses has been done since around 5000 B.C.
3. On 200 B.C. the Great Wall of China was built using 8 million bricks!
4. Brass doorknobs disinfect themselves. The ions in the metal have a toxic effect on spores, fungi, viruses, and other germs, eliminating the infections within eight hours.
5. In Scotland, house owners paint their front door red when they pay off their mortgage.
Questions & Answers
Question: How long did it take you to make a 3D paper house?
Answer: It took me about an hour to complete it. It is not the first time I made this paper craft. But it might have taken more than just an hour when I first tried to make it.
© 2016 Aditya Chakrabarty
Did you enjoy reading this article? I would love to hear what you want to say.
crystal on July 31, 2017:
that was the most amazing and useful thing I have ever seen thank you so much..............................
Source: https://feltmagnet.com/crafts/DIY-crafts-how-to-make-a-paper-house-for-kids
0 Response to "How to Make a Paper 3d House Easy Step by Step"
Postar um comentário